Install Termi
Step-by-step guide to installing Termi, the powerful Google Forms add-on for automated form management. Learn how to quickly install and launch Termi to start managing response limits, choice quotas, and schedules.
- Open Google Workspace Marketplace
- Search for Termi
- Install the Add-on
- Open Your Google Form
- Launch Termi
Open Google Workspace Marketplace
Navigate to the Google Workspace Marketplace. You can access this directly through your browser or from within Google Forms by clicking the puzzle piece icon in the top toolbar and selecting "Get add-ons".
Search for Termi
In the Google Workspace Marketplace search bar, type "Termi" or "Termi Form Limiter" and press Enter. The Termi add-on should appear in the search results with its logo and description showing automated form management features.
Install the Add-on
Click on the Termi add-on from the search results. Review the features and permissions, then click the blue Install button. You'll be asked to grant permissions for Termi to access your Google Forms and manage triggers. Click Allow or Continue to complete the installation.
Open Your Google Form
Once installation is complete, open any Google Form where you want to use Termi. You can use an existing form or create a new one. Termi works with all Google Forms features including sections, conditional logic, and all question types.
Launch Termi
In your Google Form, click on Extensions in the top menu,
then select Termi. This launches the add-on in a sidebar,
giving you access to all Termi features: Response Limiter, Choice Limiter,
Scheduler, and Email Alerts.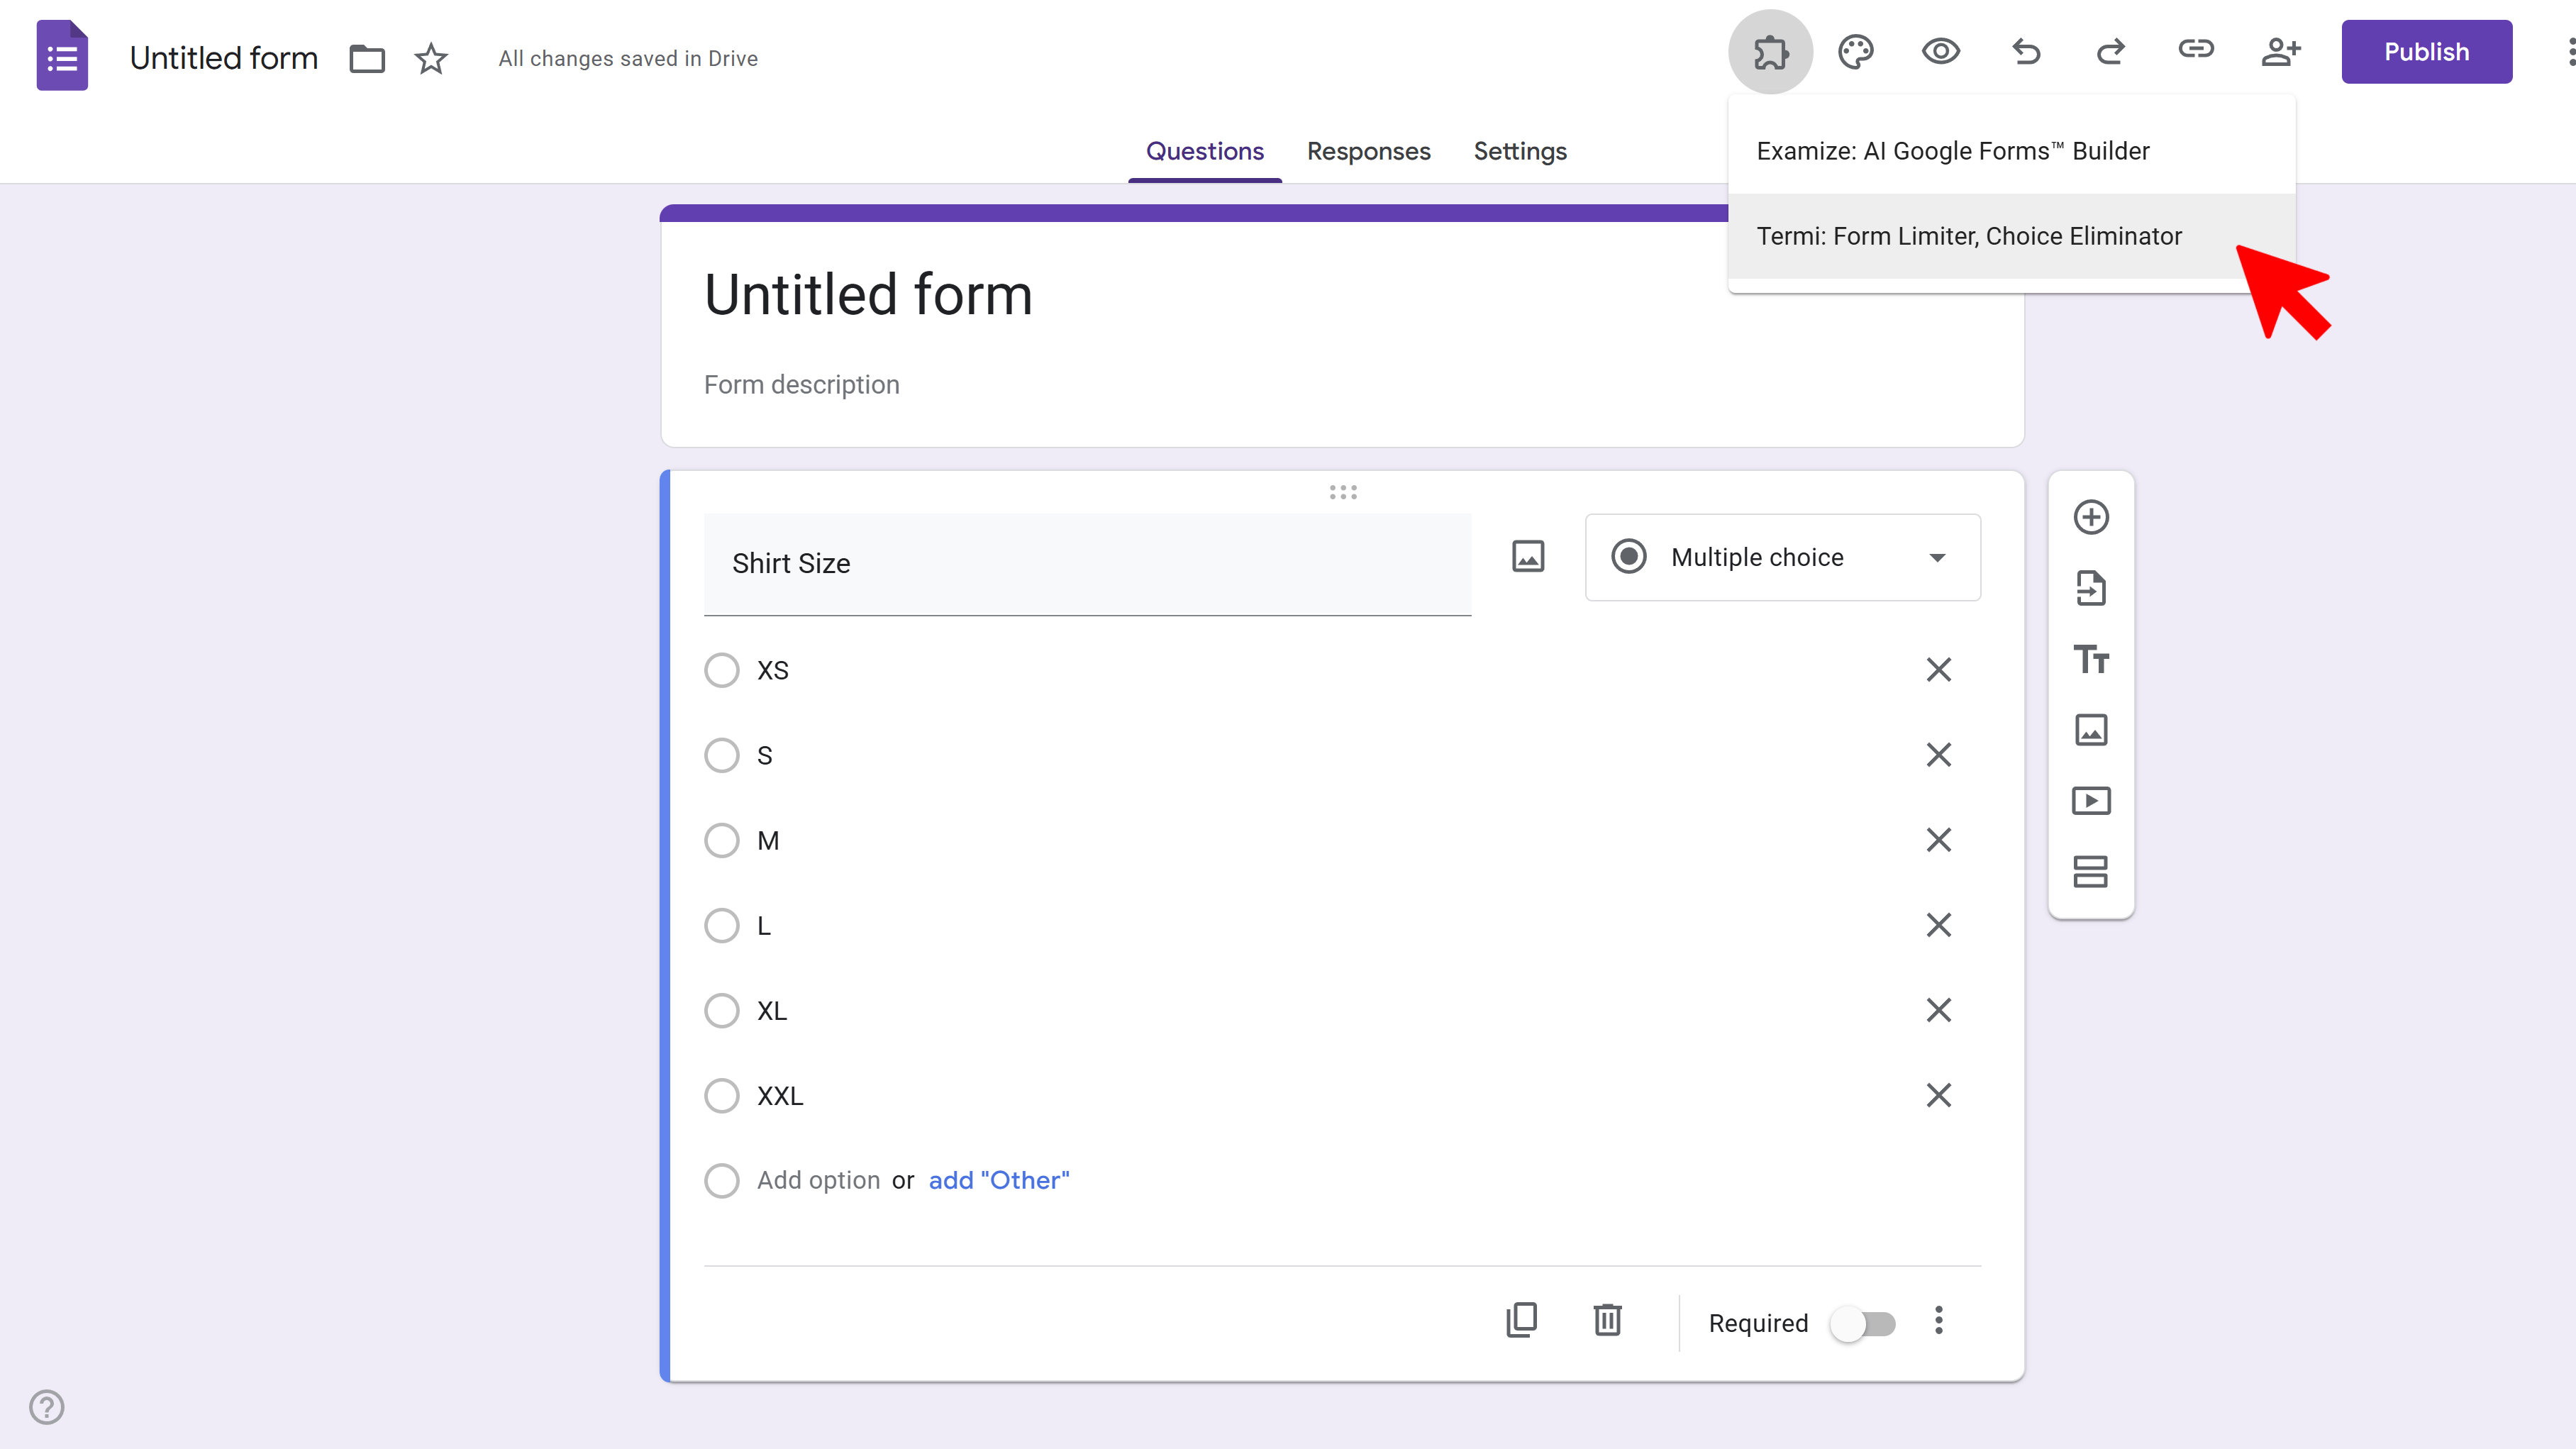
Tips and Best Practices
- You only need to install Termi once - it will be available for all your Google Forms after installation.
- The add-on stays in your Extensions menu, so you don't need to reinstall it for each form.
- Make sure you're signed in with the correct Google account before installing if you manage multiple accounts.
Common Pitfalls to Avoid
- Don't skip the permissions step - Termi needs these permissions to automatically monitor and manage your forms.
- If you don't see Termi in the Extensions menu after installation, try refreshing your browser or reopening the Google Form.
External Resources
Termi: Form Limiter & Choice Eliminator
Automate form management with response limits, choice quotas, scheduling, and real-time alerts.
- Automatic response limits
- Choice-based quotas
- Time-based scheduling
- Real-time email alerts
- Choice elimination
- Fully automated monitoring